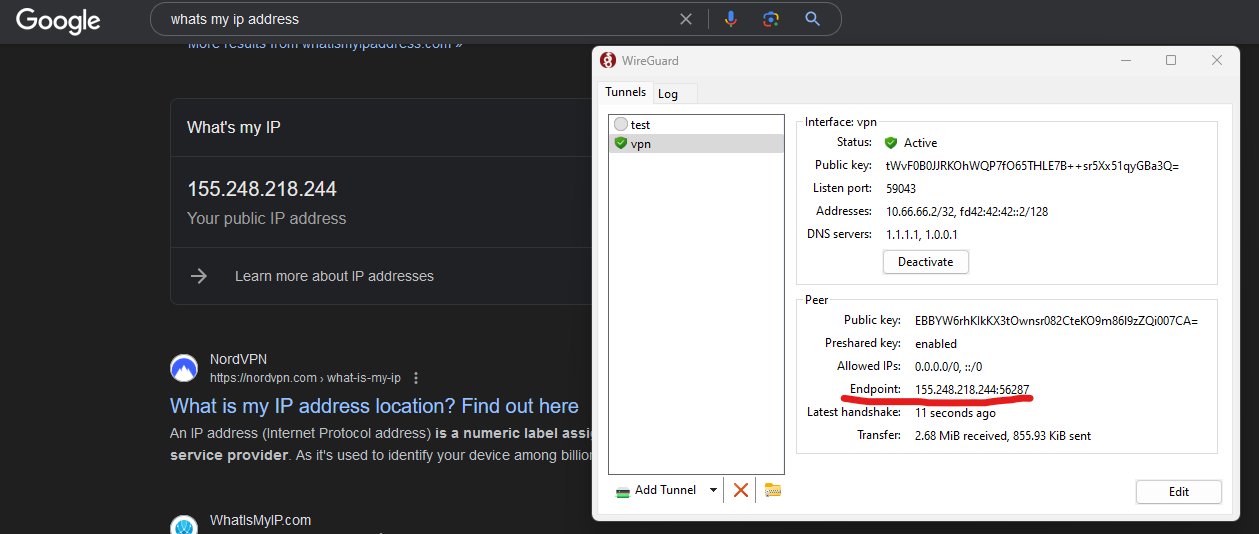
Setup a VPN for free with Oracle and WireGuard.

How to get a free VPN using an Oracle virtual private server (VPS), Wireguard, and a little technical know-how. I currently pay for NordVPN, but this is an easy way to get a VPN for free, with just a little bit of technical knowledge.
First, signup for a free Oracle account using the below link, and download and install the Wireguard client.
Oracle SignupWireguard Download
After you've put in your account information, and validated your email you must choose your home region. This home region is going to be where your VPN is. You can not change this, so choose carefully. Use the link below to find your closest region.
Once you're in, hit the hamburger menu in the top left, click "Compute" and then "Instances".
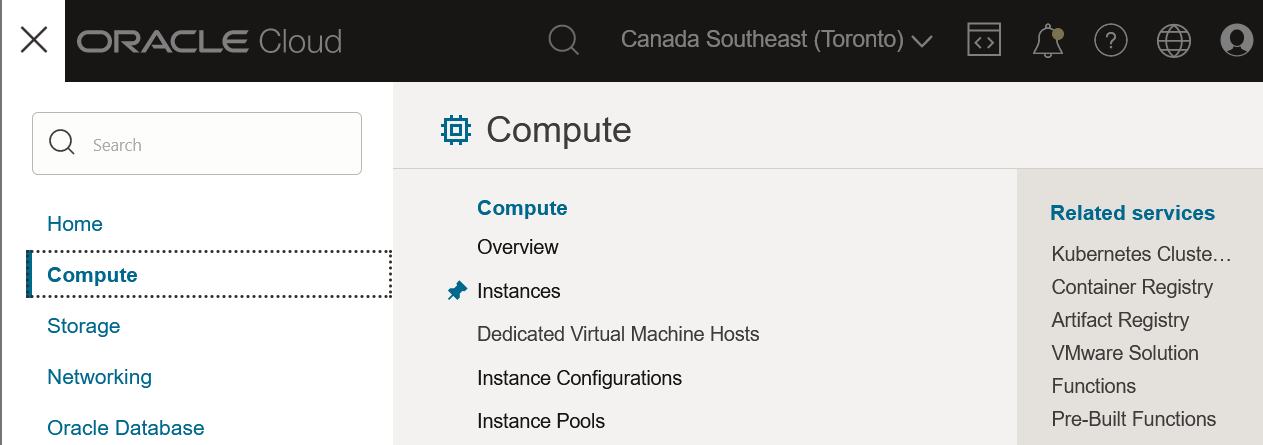
Make sure your Compartment is selected in the bottom left, and then hit Create Instance.
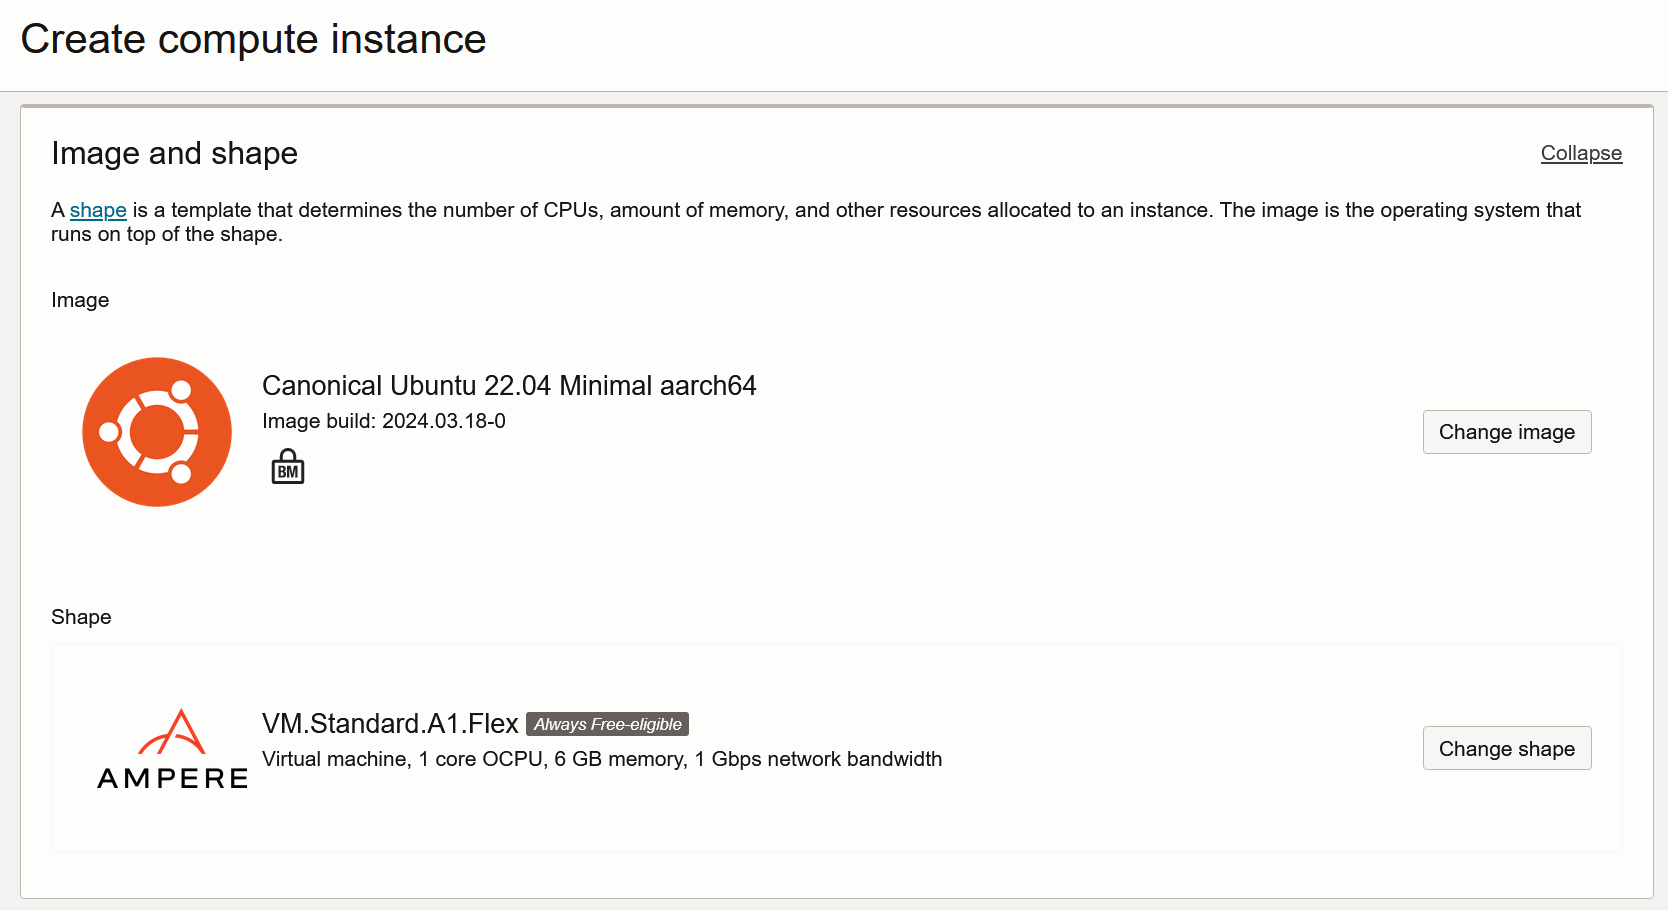
Select the Canonical Ubuntu 22.04 Minimal aarch64 image, and you can leave the Shape as-is.
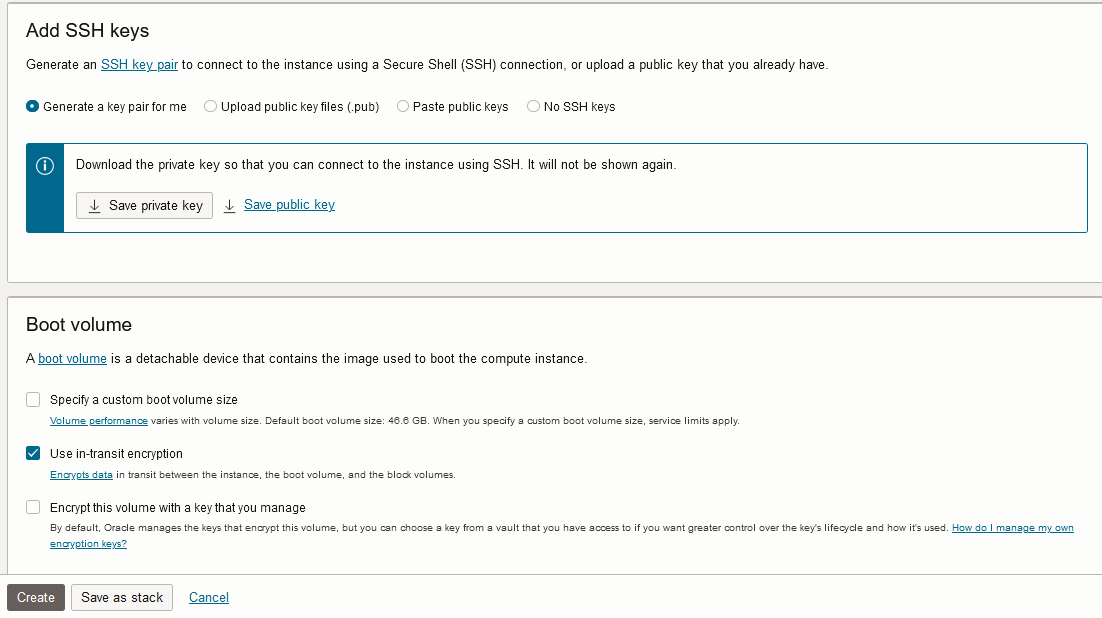
Now save the private and public keys, and hit Create.
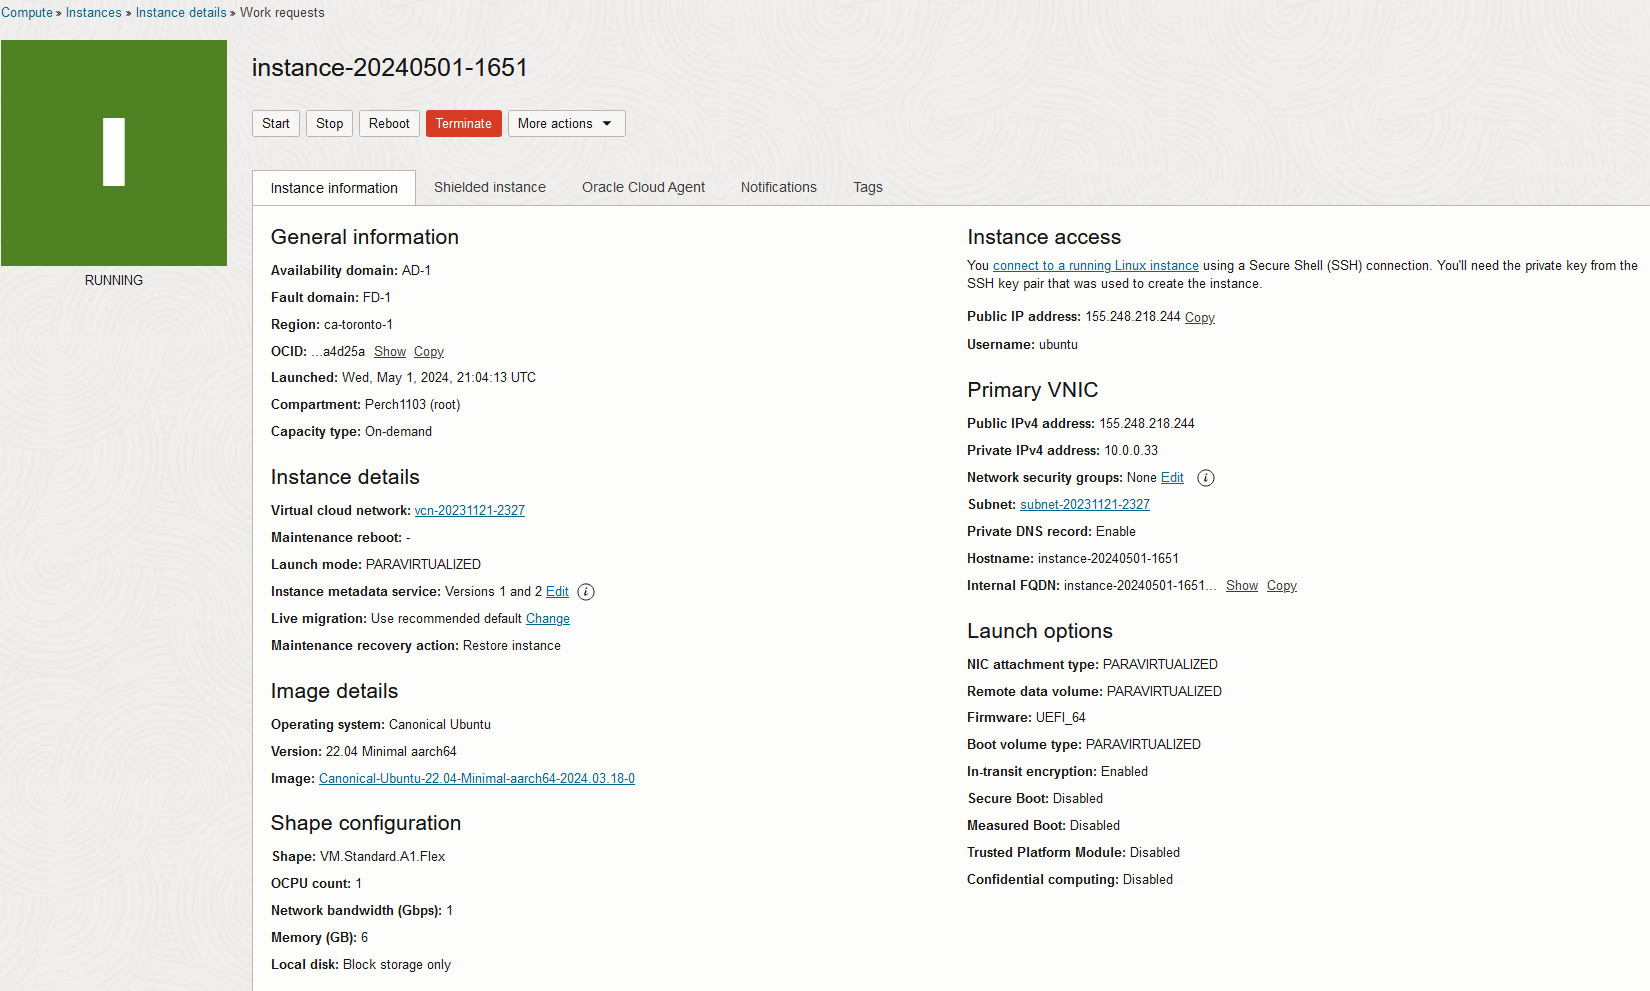
You will have to wait a few minutes for the VM to be created. After it is created, you can view the servers information. Note down the IP address, as we will need it later.
Right click on the downloaded ".key" file, hit properties, then the Security tab, and hit advanced. Click Disable inheritance at the bottom and convert to inherited permissions into explicit permissions.
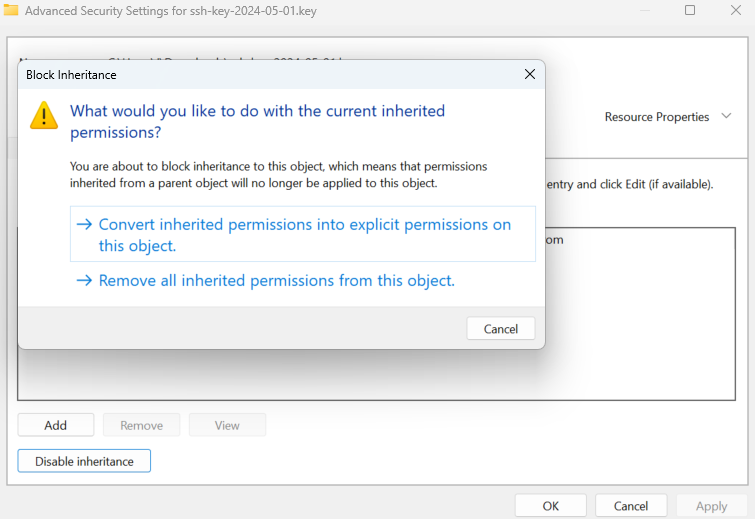
Remove all accounts until your username is the only one left, and then hit apply. Copy that .key file, open up file explorer, and navigate to C:\Users\<your username>\.ssh, and paste the .key file. Right click on the key file and "copy as path"
Now we are going to access the newly created VPS using ssh. We will need two things.
- The path to your key file. ex: "C:\Users\J\.ssh\ssh-key-2024-05-01.key"
- The IP address of your VPS. ex: 155.248.218.244
Open Windows terminal and type:
ssh -i pathtoyourkeyfile [email protected]
Example:ssh -i C:\Users\J\.ssh\ssh-key-2024-05-01.key [email protected]
Type in yes, and hit enter.
Now we need to update and upgrade the system. Copy the below code one by one. If it asks you which services you need to restart, say none, as we will reboot shortly.
sudo apt update

sudo apt upgrade -y

sudo iptables -I INPUT -j ACCEPT

sudo su

iptables-save > /etc/iptables/rules.v4

exit

sudo reboot now
Wait about 30 seconds, and then press the up arrow key to bring back your ssh command, and then press enter. Run the code below to start the VPN process.
curl -O https://raw.githubusercontent.com/angristan/wireguard-install/master/wireguard-install.sh

chmod +x wireguard-install.sh

sudo ./wireguard-install.sh
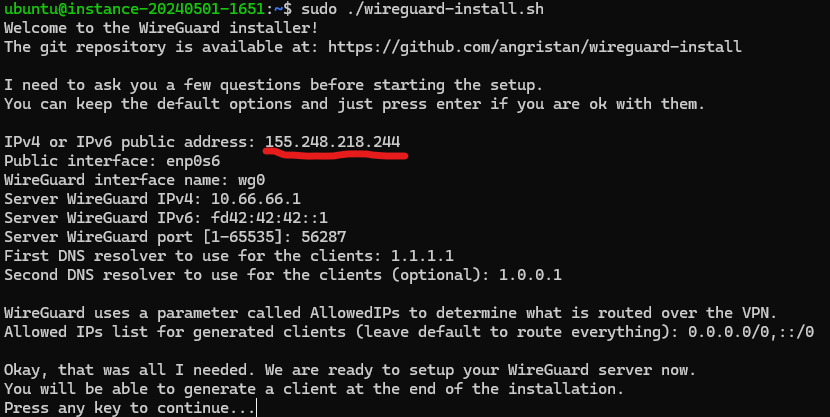
Input your Oracle VPS IP address for the first question, and then you can press enter for the remaining questions.
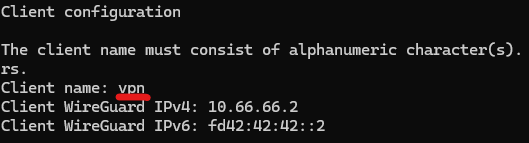
Input a client name, and press enter for the remaining questions.
Paste the below code to view the Wireguard config file.
cat /home/ubuntu/wg0-client-vpn.conf
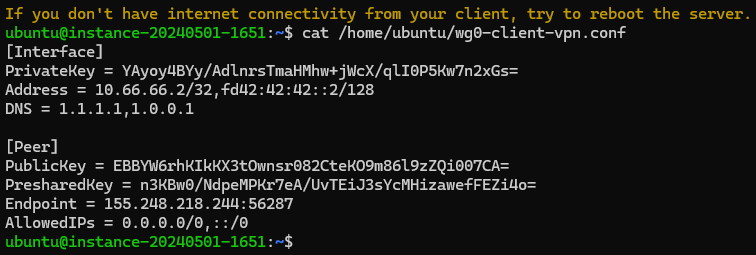
Highlight from [Interface] all the way to AllowedIPs, and ctrl+c to copy.
Open WireGuard and hit ctrl+n to create a new tunnel. Paste in the information generated from the VPS.
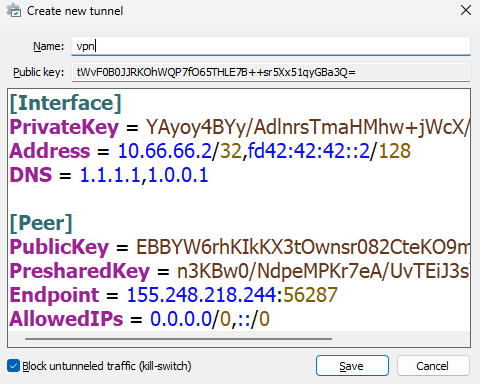
Hit save, and then activate, and then you're connected!
Google your IP address and it should be the same as the VPS IP address.